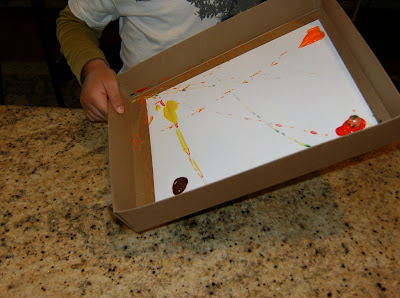
We made some more fall marble art. (If you remember, the last marble art I showed you was from LAST year. Of course we had to do some again!)
Here's what we used... fall colored paints, a box lid, paper, marbles, and a leaf template.
Remember how last time I couldn't find a marble? Well, this time I just went ahead and bought a bag at JoAnn's. It was only $2.49 and I'm sure we'll get lots of use out of them. Little man was excited about them!
Lay the paper in the box lid and put a dot of paint around the edges.
Then put a marble (or two... or three!) in the lid, roll around and have fun!
We made a few of these. One of them I tried to do without the green (although there was some green left in the box) and then another one we did without brown.
After the three paintings dried, I traced some leaves onto them, cut them out, and we glued them on to fall colored construction paper.
I love them! If it was my kids art work, I would probably cut out the construction paper to make a thin layer of boarder. I would probably make quite a few and decorate a door or something like that. OR, you could take them to an office store, have them laminated with heavy duty laminate and use them as fall placemats.


That is super fun. I was planning on doing that in my class.
ReplyDeleteIt makes a beautiful leaf picture.
Thanks for sharing that great idea.
great idea! I love marble painting!
ReplyDeleteI have always meant to try this. Great job!
ReplyDelete