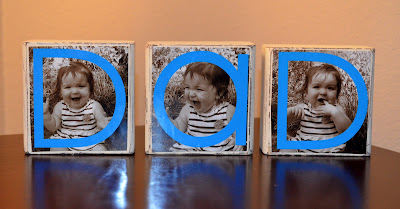
I did a quick photo shoot of Olivia after her morning nap. Then we ran to Target to get them printed. I decided to go with sepia prints.
I went to Lowe's to get a 2 by 4 cut. The hardware stores are suppose to cut your wood for you free of charge. They did, but the guy that was helping me was acting like he was doing me a favor. I wasn't too pleased with the customer service. I'm going to try Home Depot next time. :)
Anyway, for those of you who don't know, a 2 by 4 is actually 3 1/2 by 1 1/2, so I had him cut every 3 1/2 inches to get square blocks. He "graciously" cut 5 squares for me (rolls eyes). I'm glad I did, because one was shorter and some of the wood wasn't the greatest.
I mostly used supplies I already had. Unfortunately, the sandpaper block I had was low grade because it was originally used for paper. This made me work a little harder, but it still worked out alright. I sanded the edges down. Some of the wood started out a bit rough.
After sanding, I made sure that all three blocks lined up nicely.
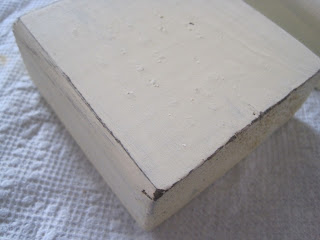
I knew I wanted to have a distressed look, so I painted the blocks brown to start.
Then I did two layers of cream (waiting about 5 to 10 minutes in between coats to dry).
You could very lightly still see some brown underneath. I was ok with this.
Then I took my sanding block and distressed the edges.
Next, I cut the pictures to size. I forgot my modge podge at home, so I just used tacky glue and painted it on the blocks to get a nice, thin even coat.
Using my silhouette, I cut the letters out for "DAD" onto vinyl.
I used the century gothic font so that I could have the rounded letters.
Originally I was going to use brown vinyl, but when I put the first D on it blended in too much.
Michael's favorite color is blue, so I went that route instead.
I just applied the vinyl letters to the blocks.
I did plan on using a sealer that I had, but opted not to for now.
I am pleased with how it turned out. Michael loved it too.


No comments:
Post a Comment