Showing posts with label crafts. Show all posts

Sunday, June 5, 2011

Nursery Birdhouse

This pesky birdhouse and has been haunting me for months now!  Remember that I mentioned (when picking the bedding) that I thought birdhouses or birdcages would be a great way to decorate?!  Since I have pom poms hanging from the ceiling, and there isn't much other space for decorating, I skipped out on the birdcages.  I did have a small space for a very small birdhouse.  I knew JoAnn's sold them for a dollar.  However, I avoided buying it for about a month and a half--mostly because the thought overwhelmed me.

Finally, I bought it...a month ago.  And then...it sat.  I've mentioned that being pregnant has zapped my creative juices.  Plus, for whatever reason I was putting pressure on myself to turn this one dollar birdhouse into a million dollar masterpiece.  I decided it was time to get over it.  The birdhouse needed decorating and I needed to get on it before I had no time left.

 What the birdhouse looked like before I started...
Do you see it haunting me?  It's saying "This better be good.  It's for your daughter's room!"  Yep.  It's mocking me.  Agh!!  The pressure!

I decided to just use supplies I had.  After all, roaming the aisles of a craft store was not in the cards for me this week.  I couldn't decide if I wanted to just paint the thing and keep it simple, or if I wanted to bling it out (like the "O"), or if I wanted to use scrapbook paper to cover it.  I decided to try to keep it simple, but use both paint and scrapbook paper.  I had Michael help me pick out the paper we would use.  I was given some really cute paper at my shower (from my "adopted" mom Kathi), so we had so many good choices to choose from.

First, I painted the house part green.  I included the paint bottle in the picture so you can see what I used.  I think it was leftover from wedding day crafts.

Next, I painted the trim white
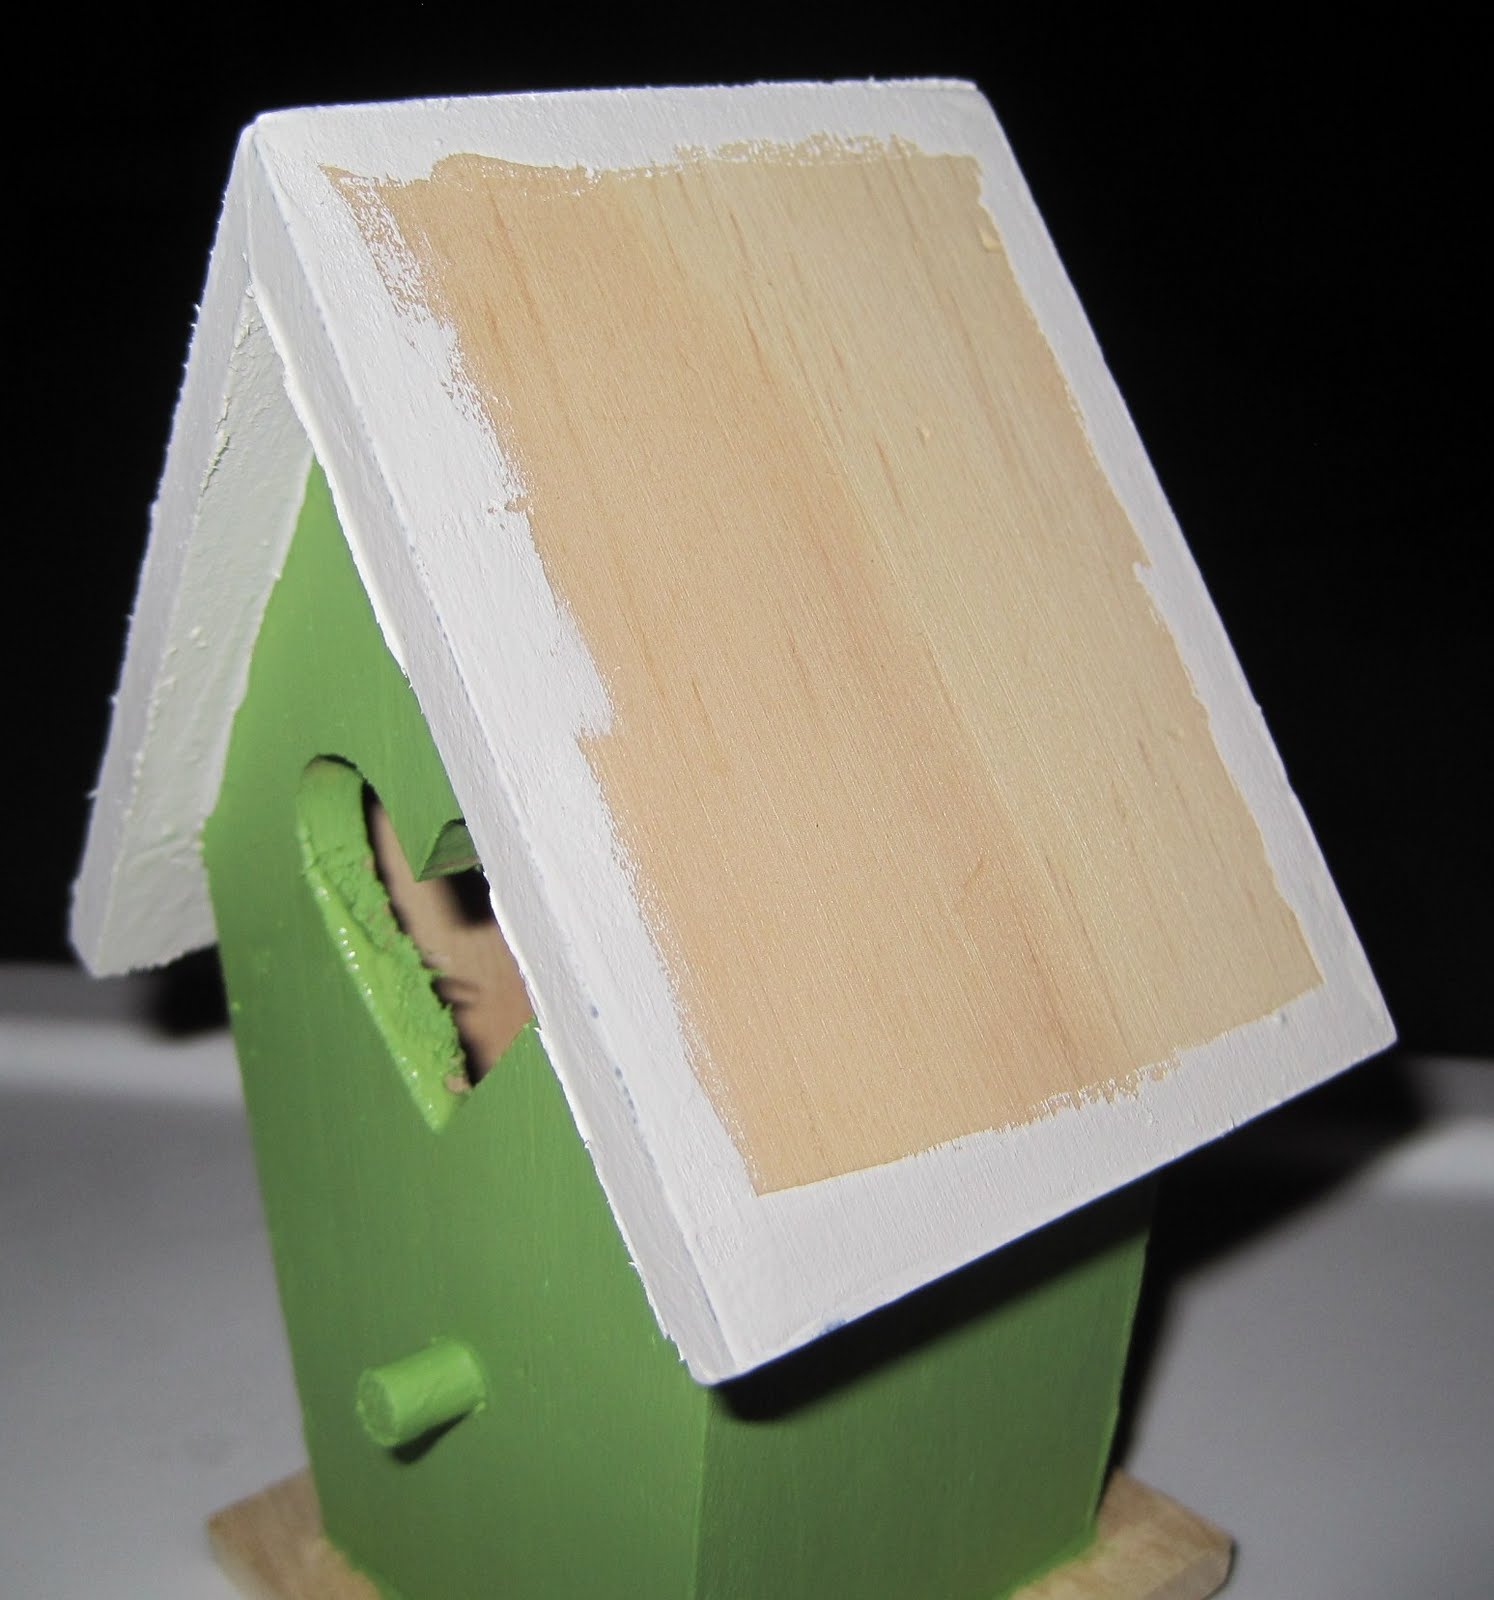
Then I used spray adhesive and glued on the paper
It's actually a bright green color and not yellow like it looks

I decided to use buttons instead of bling.
There was blue in the paper.  I debated on whether or not to use the blue because there was no other blue in the room.  I don't necessarily want everything matchy matchy, which is why I added the blue and the yellow.

Next, I added her name with a paint pen.  The pink details were added with a small paintbrush.

On the shelf
Cute, huh?


So it's not a million dollar masterpiece, but it's still nice.
I'm relieved just to have it done with.  Now, all I need is a picture frame for the top shelf.

Wednesday, March 30, 2011

The O

I mentioned in my "nursery" post that I was planning on using some sort of "O" in Olivia's room.  Since I got the idea in my head of decorating an "O", I had to get on it! :)  I didn't have much of a plan.  I just knew that I wanted a pretty big sized O in order to be able to really decorate it.  I found what I wanted at JoAnn's.  Then I just walked through the scrapbook and ribbon aisles and gathered things I thought looked good.  I wasn't quite satisfied, so the next day I went to Hobby Lobby.  After gathering all of my supplies, I just sat down and played it by ear.  Here's how it turned out.

I swear, when I leaned it on the dresser it was straight!  Now it looks like it's leaning to the right.  Oh well.  It will eventually get hung up.  I'm planning on hanging it inside of an empty frame.

First, I painted it white.
Second, I used the brown flower scrapbook paper on the left.
One of the other things I bought (the shiny rub on paisleys) came with some sticky bling bling.  
I just added them to the middle of a few of the flowers.

In order to cover up the line of the paper, I glued on some green flower jewels

I added paisley scrapbook paper to the bottom.
I covered that edge with ribbon. 
I also added some swirly things and some more jewels. :)

More ribbon in a circle pendant

I didn't get a close up of the paisleys, but they were rub-ons.  They are a little shiny.  Each one is individual, so I just made up the pattern myself.
I do realize that the white doesn't stand out too much against the walls.  I did think about this before painting it.  However, we only plan on living in this apartment until Olivia is about 5 or 6 months.  Eventually her nursery will have painted walls.  Because of that, I went with the white.  I'm pretty happy with how it turned out.  I'll show you again once it gets on the wall.

Friday, October 15, 2010

Fall Wreath

You may remember this wreath from this before and after post back in June.
 I bought it so that I could have a wreath for times when I didn't have a holiday to decorate for.  I got it in the outdoor section at Target.  It was sort of expensive (for a wreath), but I thought it could be used year round.  Unfortunately, it started molding shortly after we got it.  It is now four months later (almost to date) and it is ruined.  It is all black and nasty looking and is going in the trash.  Awful.  Don't buy it!

So I figured it was time to make a fall type wreath.  
I considered just buying one, but most of the ones at Michael's and Jo Ann's were $20 even at 50% off.  
I didn't think they were that great, so it was craft time!

I bought another one of those grapevine wreaths for $4.
Only, instead of leaving it brown, I decided to spray paint it a cream color.  
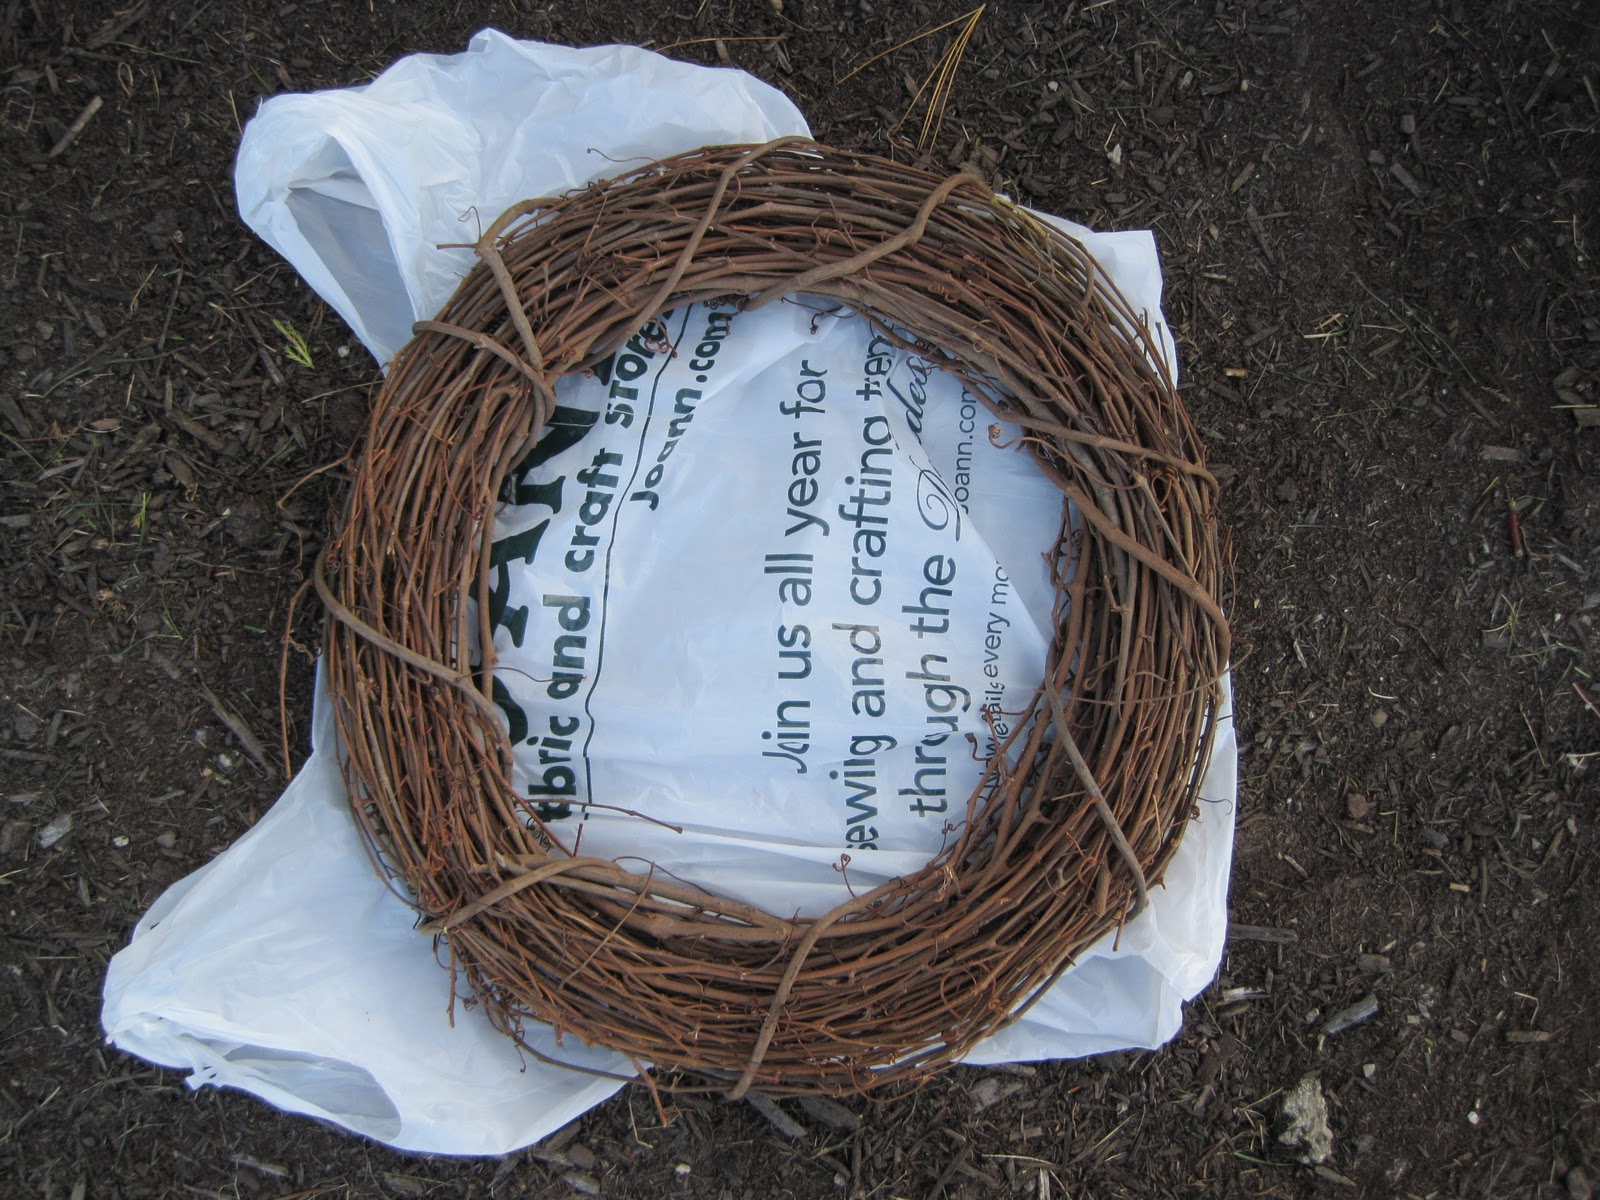
Hence the reason it's sitting in some dirt.

I did it in the dirt, because my last spray painting project left a little paint on our porch.  Michael wasn't thrilled.  This time it looked like this...
Then I just shifted the dirt around with my foot! :)

These are the other supplies I used (all on sale for 50% off!)

I used some rafia and wrapped it around like ribbon.
Sorry... I didn't realize the picture was blurry when taking it.  This was actually the second picture I took too.

Then I added these picks
Next I hot glued the leaves and pinecones.
You may have noticed I bought two bags of leaves.  One bag would be enough, but I wanted the varying shapes.  One bag was oak leaves and one bag was maple leaves.  The bags were $1, so I didn't mind buying two.  I can use the leaves elsewhere.

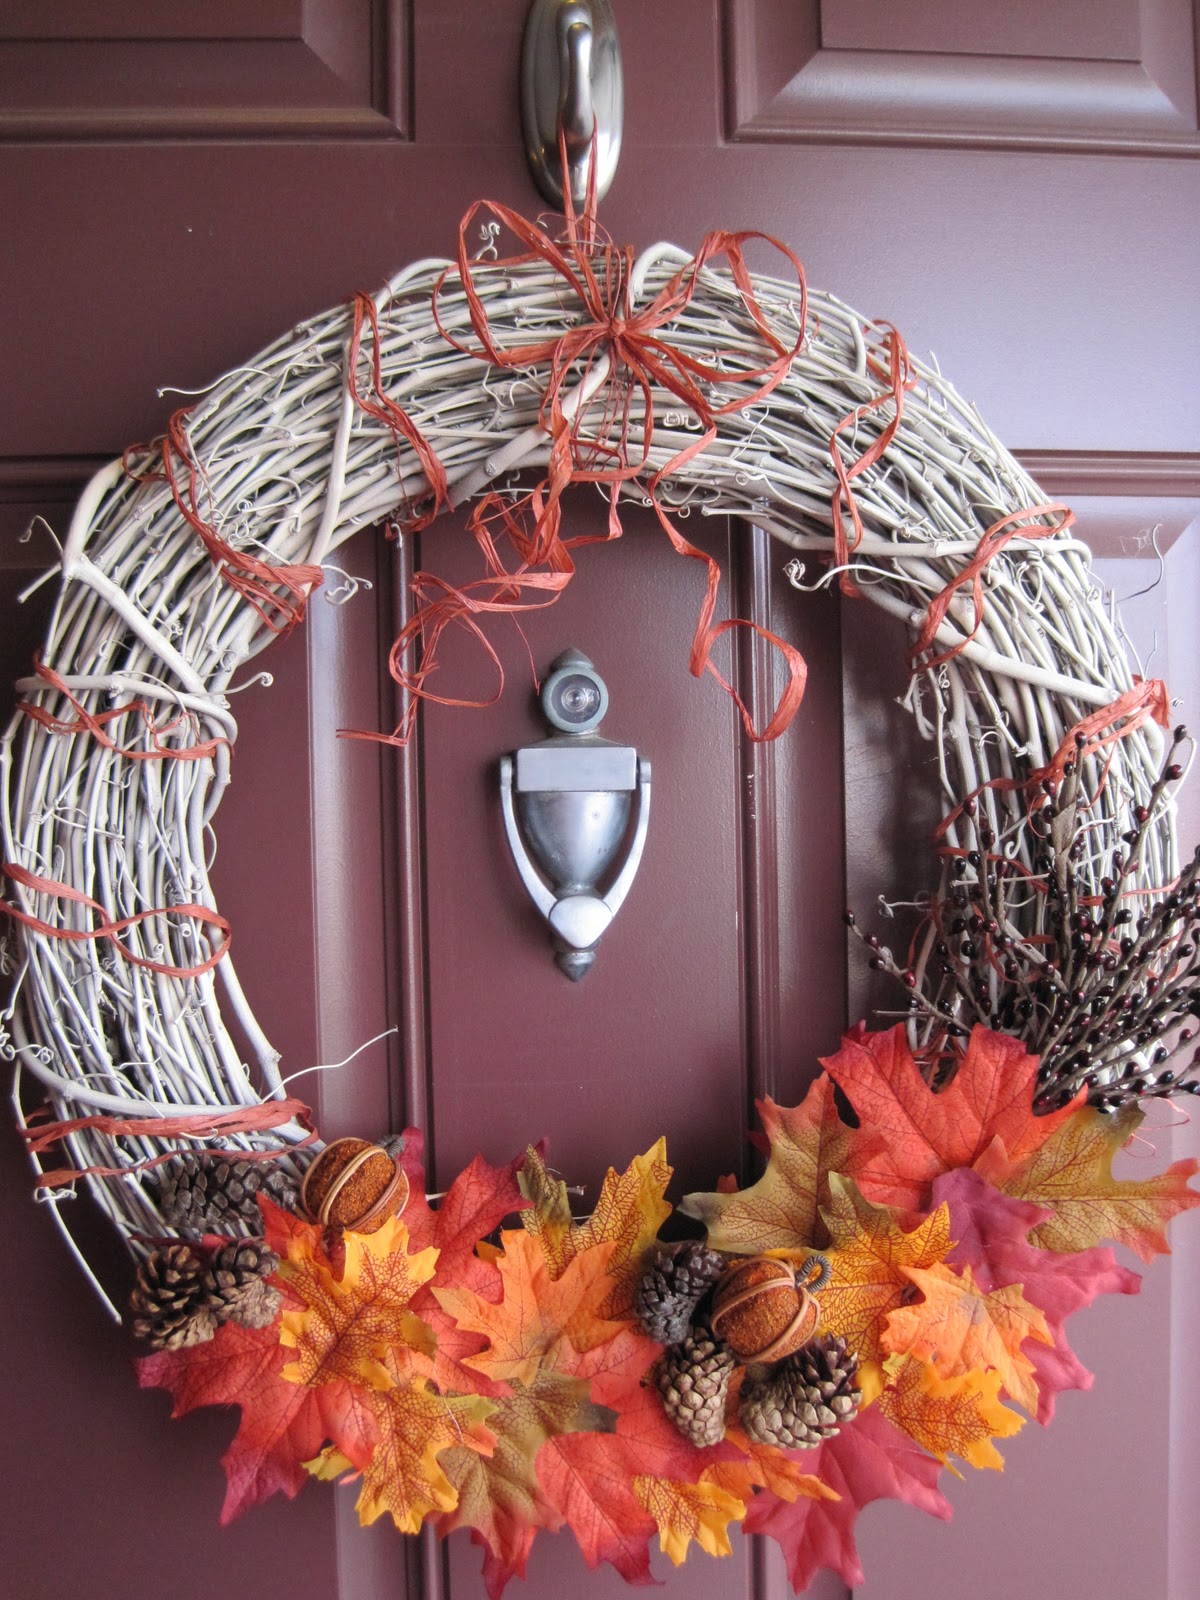
Hanging on my door

I am glad I spray painted it.  It helps it stand out a little on my dark door.

The entire thing cost me under $20 (so less than a pre-made one), plus I have lot of supplies left, AND I got to be crafty.  I call that a WIN! :)

Friday, October 1, 2010

Flashback Friday

This Friday we are going to flashback to the good old wedding days.  I haven't done any crafts recently, but I have lots of crafts from back then.  Today, I will share with you our guest book.  I had tons of fun making it.

When it came to our guest book, I knew I wanted something different.  Lots of people had the pictures with the mat that guests signed.  That's cute, but I wanted different.  I thought about guests signing a platter or something like that, but I wasn't sure all the names would fit.  I threw around idea after idea and then I came up the scrapbook idea.  I love crafts.  I enjoy scrapbooking and creating, so that's exactly what I did.  Plus, I knew it would make a cute coffee table book.

From an old picture...

The first page

We had tons of engagement pictures, so I decided they needed to be showcased.

One side was the picture with room for signatures and the other side was scrapbooked love quotes.
For the most part I stuck with pink and green since those were our colors.

I found booklets of vellum "love" quotes from JoAnn Fabrics and Michael's

Have I mentioned I love paisleys?

I had a blast finding all the supplies necessary.

More paisleys
Sorry about the fuzzy pictures... I was having some lighting issues.

I love this one!

Layers

Textured papers

Wednesday, August 4, 2010

Too Much Brown

It's no secret that birds scare me.  My "adopted" parents have one and I scream every time it tries to land on me.  I realize that it is small and there is nothing it can do to me, but I can't help it.  It's a natural reaction.

Oddly, I am drawn to bird type decorations.  For example, remember the clock I bought?


 I recently bought something else that sort of went with the bird theme.
 What do you think?  I love it.

I bought it knowing that I was going to paint it.  There was too much brown going on with our already brown (and totally outdated) entertainment center.  So I bought Antique White spray paint and went to town.  However... I have no place to spray paint.  So I made a little make shift place on my front step.

I lightly sprayed it.  I didn't want it completely white.

Then I took some of this
and put it on a paper towel.  
Then I gently rubbed some of the paint off.  

  I did the same thing to the clock.  It was too dark to be in the entertainment center.

I think it turned out alright.  It wasn't exactly how I thought it would turn out, but it works.

Saturday, June 26, 2010

The Ugly Tray

I found this (ugly) tray at Home Goods while out shopping with my sister one day.  I bought it for $7 and had grand plans to change it into something beautiful.  It's been sitting in my basement waiting oh-so-patiently for it's transformation.  Originally I put it off because were going to move.  I wanted to make sure that whatever I did to it matched the new colors and schemes of the new house.  Well, we took our house off the market 6 months ago and don't plan on going anywhere for quite some time, so I figured--what the heck?  Now or never.

I decided I wanted the edges a green color.  I sort of liked the design around the edge, but the green wasn't quite the right shade.  So I decided I would paint it green and add my own scrolls and embellishments.  I ended up using a metallic colored green that I had from another project.  It was very thin and after a few layers you could still see the design.... but I ended up liking it like that!  I love it when "accidents" turn out to be awesome.

Then I bought some magnetic primer and chalkboard paint at Home Depot.  

I was super excited when I found out you can get chalkboard paint that can be tinted a color!
  I chose coffee because I thought it would go with the colors already in my kitchen.

So I got to work painting the magnetic paint on.  It's very thick.  It says it's best to do three thin coats as opposed to two thick ones, but I don't know how you can do a "thin" coat with that paint.

They shake the paint for you when you buy it, but you have to keep stirring it.  Even after I painted one coat and let it dry for 30 minutes, it was needing another stir.

After the three "thin" coats were dry.

Then I had to paint the chalkboard paint on.  It was super THIN.  Especially compared to the magnetic paint.  I was very worried after the first coat, because it hardly covered and you could see the black through the brown paint.

The finished product was actually brown.  Phew!

Then I had to figure out how to attach it to the wall.  I had seen some "disc" plate holders before somewhere (and stored them in my brain for later use).  I got online and ordered one from Amazon for $1.50.  (But I actually had a $2 code, so it was free.  SCORE!)
*Please excuse the shadows.  I apparently wasn't paying attention!

Anyway, different sizes can hold a different amount of weight.  I bought a bigger one.  I think it's suppose to hold five to seven pounds.

The back has a wallpaper like glue on it.  You get your fingers wet and rub the glue around until it makes a sticky glue.  Then you let it set for a few minutes.

Attach it to your clean plate tray.  Let sit overnight and then hang!

The finished product...
The only thing is... the magnetic paint isn't all that strong.  I had read a review somewhere that said you needed super strong magnets for it, so I sort of knew it going into it.  But for the price... it should be stronger!  Oh well.  It's still cute and fun and will do for now.

BEFORE
 
AFTER